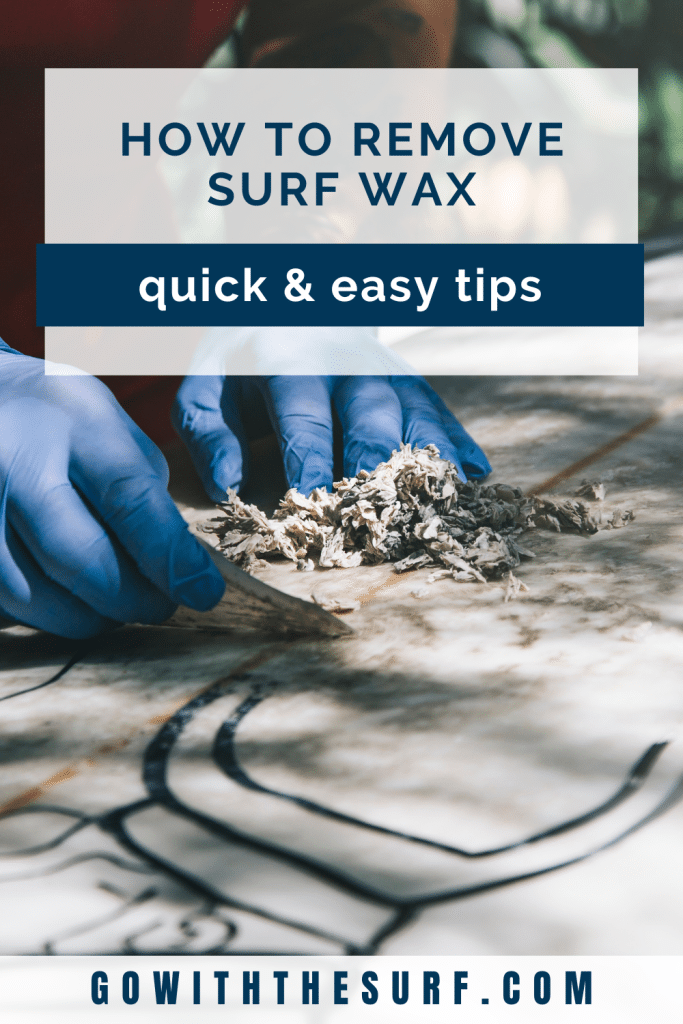
How to Remove Surf Wax: Quick and Easy Steps
Hey there, fellow surfer! If you’re looking to keep your surfboard in tip-top shape and ready for the next epic wave, you’ve come to the right place.
Let’s go through the essential steps for how to remove surf wax, deep cleaning your board, and applying a fresh coat of wax. Additionally, we’ll share some valuable tips for maintaining, repairing, and storing your surfboard to ensure it stays in prime surfing condition.
So, grab your board, and let’s dive in!
This post contains affiliate links, which means I receive a small commission, at no extra cost to you, if you make a purchase using this link. Please see my disclosure for more details.
Understanding Surf Wax
Surf wax is an essential component in the world of surfing. Its main purpose is to provide you with grip and traction on your surfboard. By applying surf wax to the deck of your surfboard, you’ll improve your stability and control while riding the waves.
There are different types of surf wax available, mainly based on water temperatures. The most common categories for surf wax are:
- Tropical for water temperatures of 75°F (24°C) and above
- Warm for water temperatures between 64°F (18°C) and 74°F (23°C)
- Cool for water temperatures between 58°F (14°C) and 68°F (20°C)
- Cold for water temperatures of 60°F (16°C) and below
Each brand might have slightly different temperature ratings, so be sure to check the label before purchasing. And you can ask your local surf shops for their recommendations.
As you enjoy surfing, it’s common for your surf wax to become dirty, slippery, and less effective over time. This can happen for a variety of reasons:
- Sand and debris: While carrying your board to and from the water, sand and other debris can stick to the wax, reducing its grip.
- Slipping: As the wax becomes older, it tends to lose its tackiness, leading to your feet slipping more easily.
- Melting and hardening: Exposure to sunlight and repeated changes in temperature can cause the wax to melt and harden, making it less effective.
To keep your surfboard performing at its best, it’s important to regularly remove and replace the wax. By doing so, you’ll maintain a fresh, clean layer of wax that offers maximum grip and control during your surfing sessions.

Preparing for Wax Removal
To get started on removing the old wax from your surfboard, you’ll first need to gather some essential tools and materials:
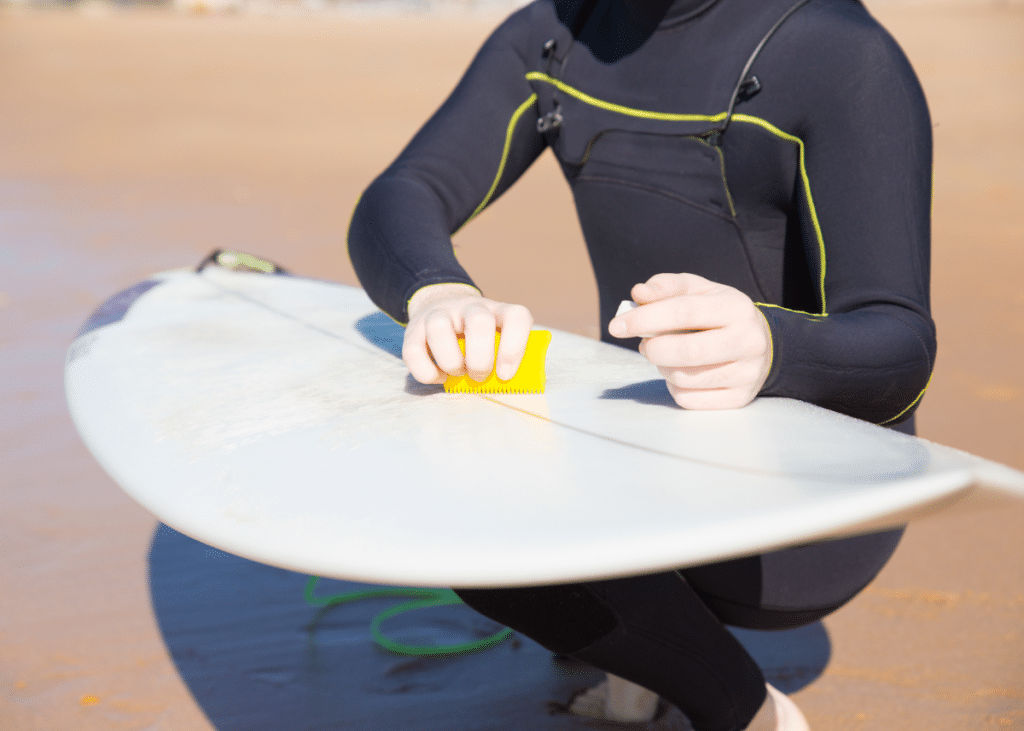
- Wax comb: This handy tool is specifically designed for scraping wax off surfboards.
- Hairdryer (optional): In case you need to soften the wax when direct sunlight isn’t available.
- Wax remover (if needed): A specialized product that helps remove stubborn wax residue.
- Clean cloth or paper towels: For wiping away excess wax and cleaning the board.
Before beginning the wax removal process, choose the right time and place. Ideally, working outdoors in a well-ventilated area with direct sunlight will make your job easier, as the sun’s warmth will naturally soften the wax on the surfboard.
If direct sunlight isn’t available, you can also use a hair dryer to soften the wax. Remember to be cautious when using a hair dryer to avoid damaging your surfboard or causing you harm.
When handling your surfboard during the wax removal process, be mindful of the fins and any sharp elements that could cause injury. Also, avoid using tools like knives or sharp-edged objects that could damage your board.
With the right tools, materials, and safety precautions in place, you’re now prepared to properly remove that old wax from your surfboard and get it ready for a fresh layer.
Step-by-Step Guide to Removing Surf Wax
1. Start with a clean workspace.
Before you begin, make sure to clear a workspace for your surfboard. Lay a towel or tarp on the ground to catch any wax that may fall during the removal process.
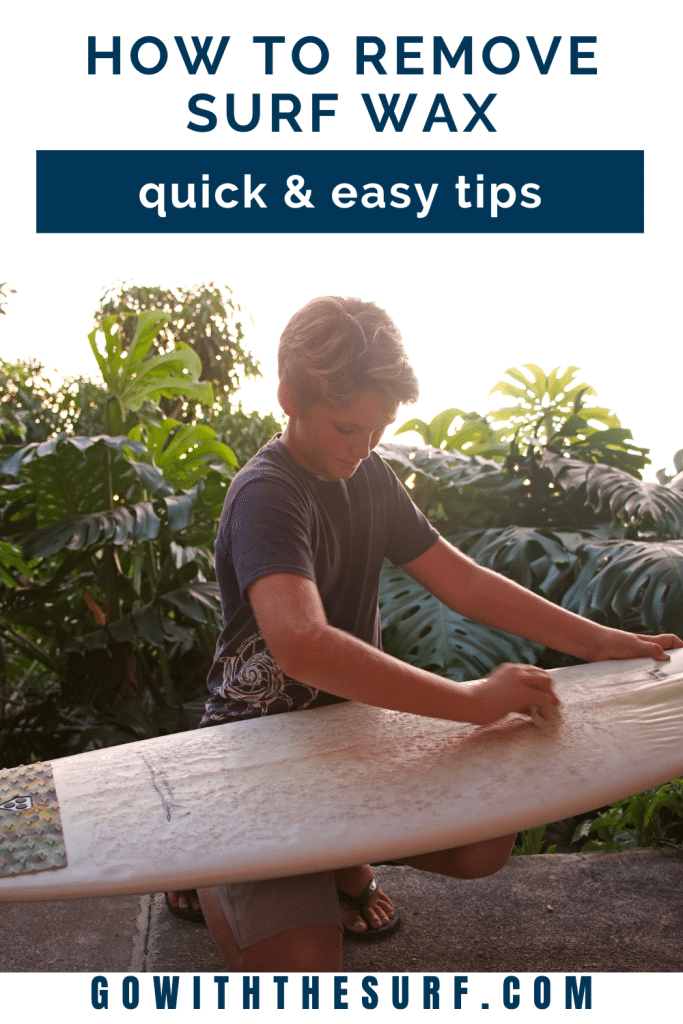
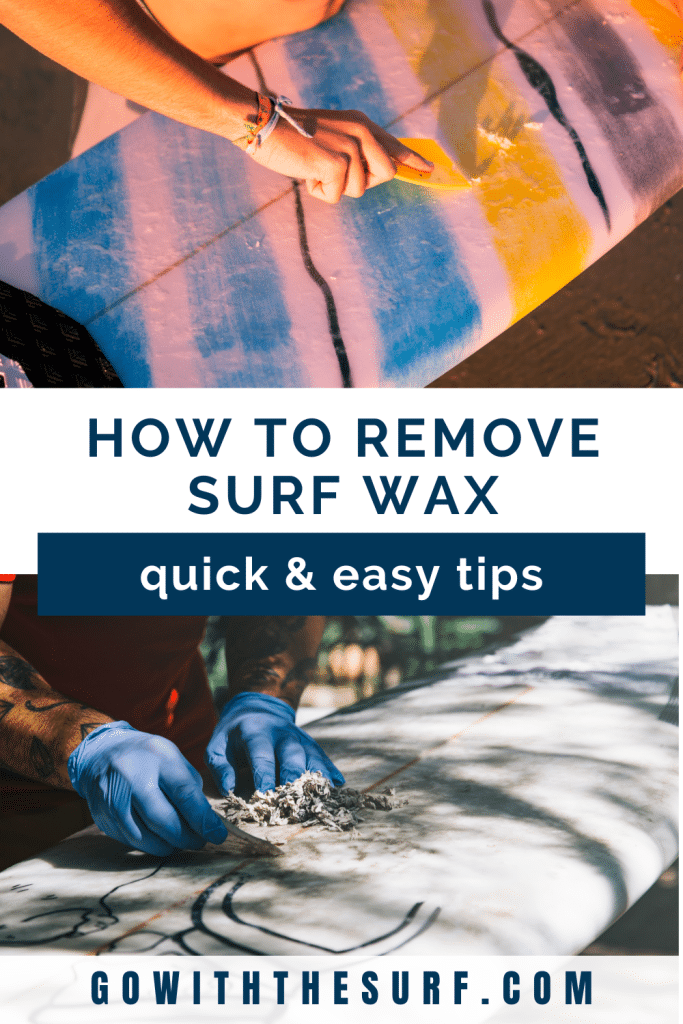
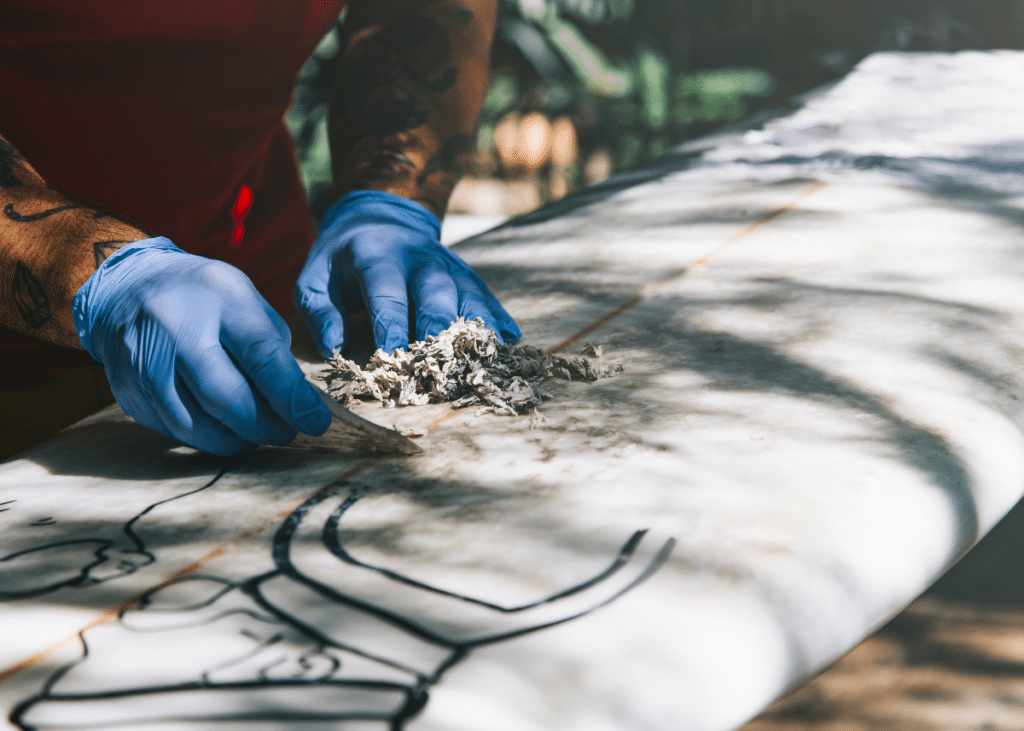
2. Use a wax comb to scrape off the majority of the wax.
Using your wax comb or a plastic scraper, gently scrape off as much surf wax as possible. Be careful not to damage your board’s surface during this step.
Techniques for effective scraping:
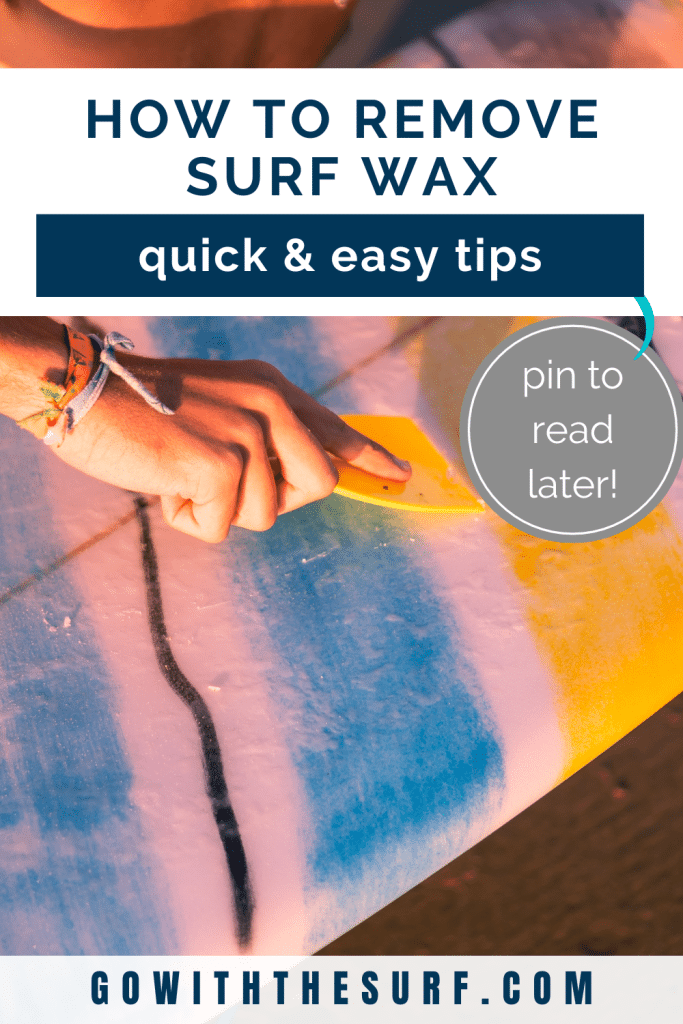
- Hold the comb at a 45-degree angle to the surface of the board.
- Apply consistent pressure while scraping in a single direction in long vertical strokes
3. Use a hairdryer (optional) to soften the wax for easier removal.
If the wax is difficult to remove or if you’re in a colder environment, you can use a hairdryer to warm up the wax. Remember to set it on low and be cautious not to apply heat to one area for too long.
4. Apply a surf wax remover (if needed) and follow the product’s instructions.
For stubborn wax residue, consider using a surf wax remover. Follow the manufacturer’s instructions on how to apply and remove the product.
5. Remove any remaining wax residue.
After using the wax comb, hairdryer, and/or wax remover, check your surfboard for any residual wax. If you find any, repeat the previous steps as needed.
6. Wipe down the surfboard with a clean cloth or paper towels.
Finally, give your surfboard a thorough wipe-down with a clean cloth or paper towels to make sure there’s no remaining wax or residue. Your surfboard should now be clean and ready for a fresh application of surf wax.
Methods for Removing Surf Wax
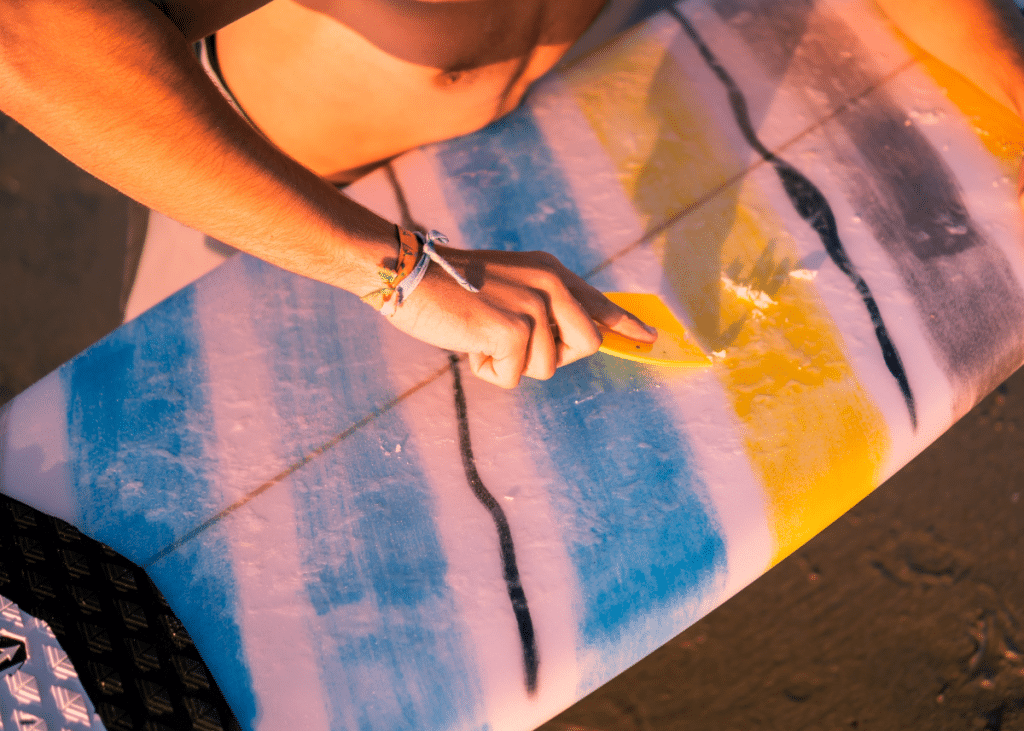
Scraping
One common method for removing surf wax is by scraping it off with a wax comb or a sturdy, flat-edged tool like an old credit card. To make this process easier, you can first leave your surfboard in the sun for about 10-15 minutes to soften the wax. Then, gently scrape the wax off the board, making sure not to damage the surface. Scrape in a diagonal pattern, removing the surf wax in small sections. This method works best with a proper surf wax comb specifically designed for removing wax.
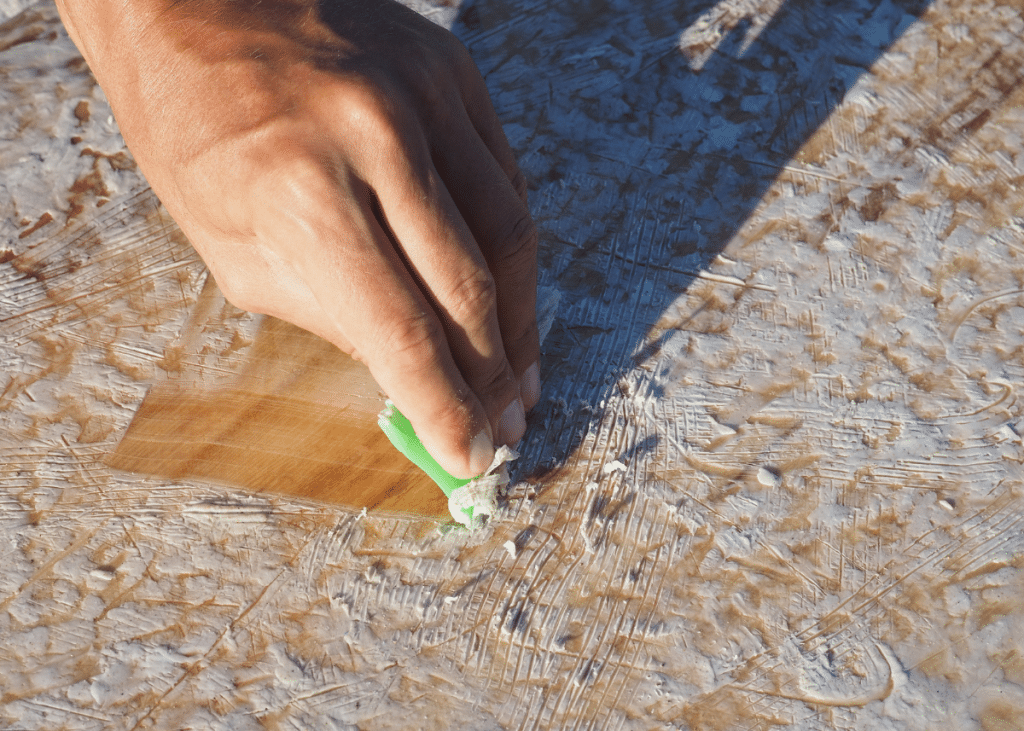
Using Pickle Wax Remover
Another tool that you can use for removing surf wax is a pickle wax remover. The Pickle is an eco-friendly wax remover made from recycled materials. To use the Pickle, simply rub it on the waxed surface of your surfboard in a circular motion. The Pickle’s textured surface will effectively remove the wax without damaging your board. This method is not only efficient but also environmentally friendly.
Using Hot Water
If you prefer a liquid solution, you can use hot water to remove surf wax. Pour hot (not boiling) water on the waxed area of the board, taking caution not to scald yourself. The heat will cause the wax to melt and loosen, making it easier to remove with a wax comb or cloth. Keep in mind that this method might make a bit of a mess, as melted wax may drip onto surrounding surfaces. Be prepared to clean up any spills if you choose this method.
Using Chemical-Free Solutions
Instead of resorting to chemical-based surfboard wax removers, you can opt for natural, chemical-free solutions to remove wax from your surfboard. Some options include:
- Coconut oil: Rub coconut oil onto the waxed surface of the board, and the oil will help break down the wax, making it easier to scrape off.
- Sawdust: Sprinkle sawdust onto the waxed surface, and rub it in with a cloth or your hands. The sawdust will help lift the surf wax off the board, making it easier to remove.
- Coffee: Use leftover coffee grounds from your morning brew, and rub them into the wax to help dissolve it. This will make it easier to remove the wax from the surfboard.
By using these simple and eco-friendly methods, you’ll be able to remove surf wax from your board quickly and effectively, while also taking care of the environment.
Post-Wax Removal Steps
After successfully removing the surf wax from your surfboard, it’s essential to properly clean and maintain the board to keep it in excellent condition. Follow these friendly tips to make your surfboard look and feel its best.
Firstly, grab a clean cloth or rag to wipe away any remaining residue. Gently rub the surface of the surfboard in circular motions, being thorough to ensure all the wax particles are gone. If needed, use a soft brush to clean any stubborn areas- just be cautious not to scratch the board’s surface.
Next, give your surfboard a rinse with fresh water. This step not only serves to remove any leftover wax remnants but also helps wash away saltwater, sand, and other debris that may have accumulated on the board from previous surf sessions. Make sure to rinse both the top and bottom of your surfboard.
Once you’ve rinsed your surfboard, it’s essential to let it dry properly. Place your board in a shaded area, away from direct sunlight, to prevent any damage to the surfboard’s material. Ideally, let it rest on soft padding or a surfboard rack designed for drying purposes.
After your surfboard is dry, now is a perfect time to inspect for any damage or dings. Regularly checking for dents and cracks is crucial to ensure the longevity of your surfboard.
Lastly, it’s time to apply a fresh coat of wax to your surfboard. Depending on the water temperature, you’ll want to choose between:
- Basecoat: Ideal for hotter climates and tropical waters
- Cold water wax: Best for colder regions where the water temperature is below 60°F (15°C)
- Warm water wax: Suitable for temperatures between 60°F (15°C) and 75°F (24°C)
- Tropical wax: Perfect for water temperatures above 75°F (24°C)
Starting at the center and moving outwards, apply a thin layer of wax in small circular motions. This ensures a well-gripped surface for an enjoyable and safe surf experience.

Tips for Deep Cleaning
There are times when a simple removal of surf wax isn’t enough, and a deep clean becomes necessary. This might be the case if you’ve neglected your board for too long, or if the wax has accumulated dirt and debris over time, negatively affecting your grip and performance. In such situations, deep cleaning your surfboard helps maintain its appearance, performance, and longevity.
To begin a thorough wax removal, consider using a citrus-based solvent or rubbing alcohol. These solutions help break down stubborn wax and grime that’s become embedded in the surfboard’s surface. Apply the solvent or alcohol to a clean cloth and gently rub it onto the board, focusing on areas with the most buildup. Work in a circular motion to help break down and lift the wax.
After you’ve loosened the wax with a solvent or rubbing alcohol, grab a soft brush and gently scrub away any remaining residue. Be mindful not to damage your board’s surface by applying too much pressure or using a brush with harsh bristles. Instead, use a light touch and work in the same circular motion to clean the surface thoroughly.
Lastly, don’t forget to rinse and dry your surfboard properly. It’s essential to remove any residual chemicals and wax debris from the board’s surface to ensure that it’s ready for your next surf session. Rinse the board thoroughly with fresh water, making sure that you’ve cleaned all crevices and contours. Once done, dry the board using a clean, lint-free towel or let it air dry in the shade.
By following these steps, you’ll have a surfboard that’s squeaky clean, ready for a fresh coat of wax, and primed for smooth performance on the waves.
How to Apply New Wax
Before applying a new coat of wax to your surfboard, it’s essential to consider the water temperature you’ll be surfing in. Different types of wax are formulated for various temperature ranges, so choosing the right one will enhance your grip on the board.
Step 1: Choose the right wax for your water temperature
Refer to this simple table to help you pick the perfect wax:

Select a surf wax brand that has a temperature-specific wax suitable for the water you’ll be surfing in.
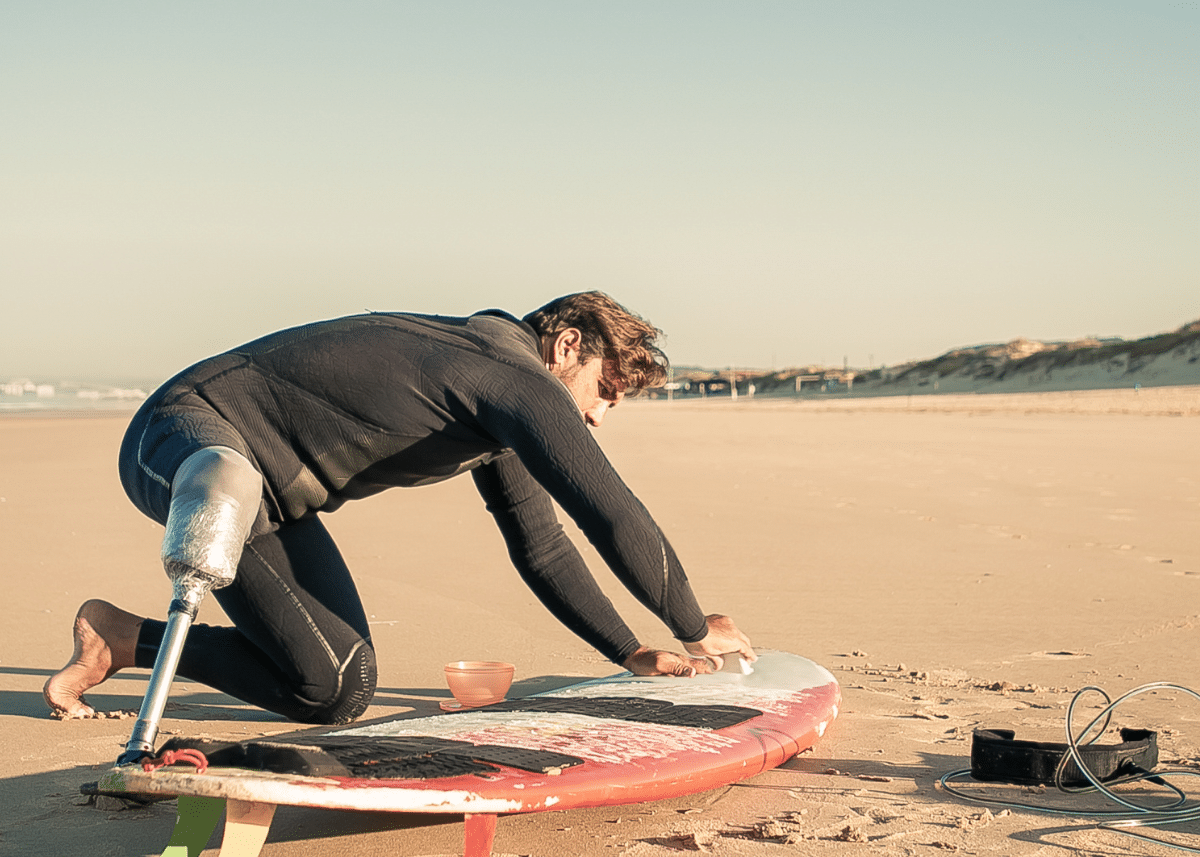
Step 2: Apply a base coat of wax
Begin by applying a base coat of wax to your clean surfboard. Base wax is a harder type of wax that creates a firm foundation for the temperature-specific wax. Using the edge of the wax bar, apply the base wax to your surfboard in a diagonal pattern. Make sure to cover the entire surface you’ll be standing on, from rail to rail.
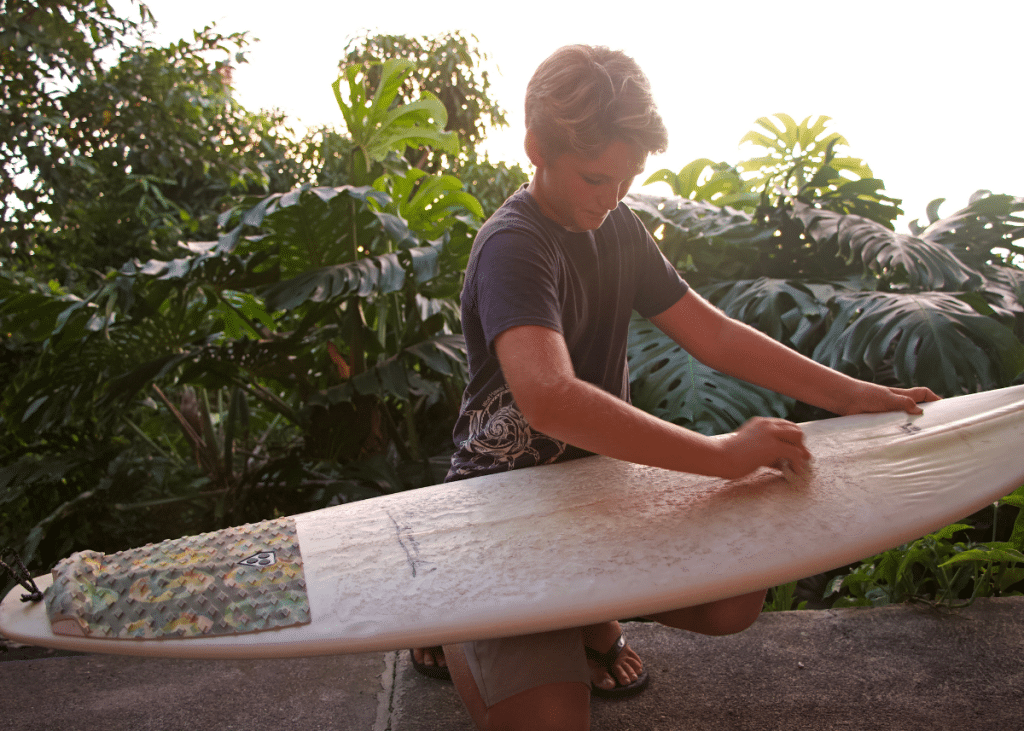
Step 3: Apply the temperature-specific wax
Now that you have a solid base coat, it’s time to apply your chosen temperature-specific wax. Gently rub the wax onto your surfboard in small circular motions, building on top of the existing base wax. Focus on creating a consistent layer with a slightly bumpy texture, which will enhance your grip.
Remember, practice makes perfect. With time, you’ll develop the skill to apply surf wax like a pro, ensuring that you maintain excellent traction on your board no matter the water temperature. Enjoy the waves, and happy surfing!
Conclusion
And there you have it – the ins and outs of removing surf wax! With these simple steps, you can say goodbye to the old, gunky wax and get your board ready for some smooth sailing on the waves. So grab your board, follow these tips, and get ready to glide through the surf with a clean and wax-free ride. Happy surfing!

Anh
Anh recently retired at the age of 35 and moved to a small surf town in Portugal in 2023. She started surfing as a hobby, but she fell in love with the water sport. She shares her tips and tricks with fellow surfers at Go With the Surf.